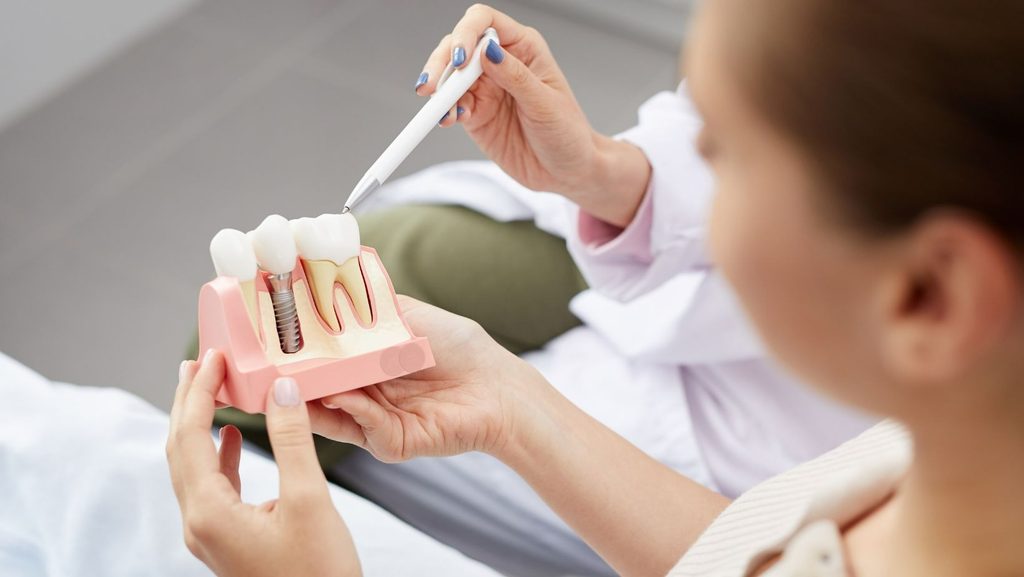
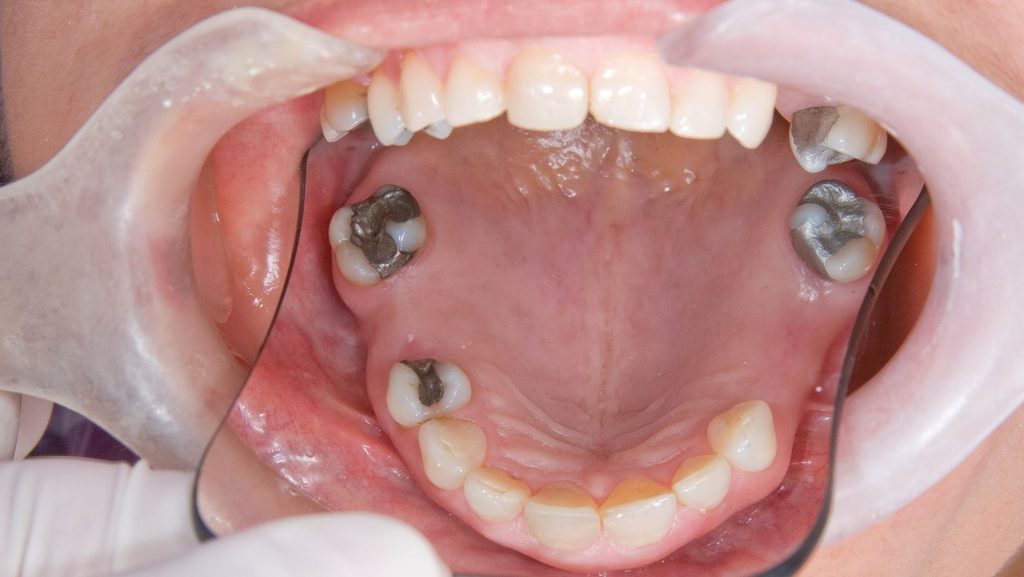
Full mouth dental implants can last for decades, but that outcome depends almost entirely on what you do at home and how closely you follow up with your dental team. The titanium foundation rarely fails once it has fused with the jawbone. What fails, more often, is the soft tissue and bone around it when plaque and bacteria are left to build up undisturbed.
Long-term success with full mouth implants comes down to three habits working together: daily cleaning that reaches every surface of the prosthesis, professional maintenance visits on a fixed schedule, and lifestyle choices that protect the implant from unnecessary stress. Skip any one of these and the risk of peri-implant disease or mechanical failure climbs.
Whether you’re considering or have already received a full mouth dental implant in Plymouth, WI, this kind of restoration represents a significant investment in your comfort and confidence. Protecting it takes less effort than the surgery itself, and the payoff is a smile that stays healthy for years.
Daily Cleaning That Protects the Gumline and Prosthesis
Keeping full mouth implants healthy starts with a cleaning routine that targets the gumline, the underside of the bridge, and the spaces between abutments where a toothbrush alone cannot reach. Plaque behaves the same way around implants as it does around natural teeth, so consistency matters more than any single tool.
How to Brush Full Mouth Implants Without Damaging Them
Use a soft-bristled toothbrush or an electric brush with a sensitive setting, and angle the bristles at 45 degrees toward the gumline. Firm scrubbing can wear grooves into the prosthesis and irritate the tissue where the implant meets the gum.
Brush for two full minutes, twice daily, moving in small circular motions rather than aggressive back-and-forth strokes. Pay attention to the back molars and the palate-side surfaces, which get skipped more often than the front teeth.
How to Clean Beneath a Fixed Implant Bridge
A fixed full-arch bridge sits slightly above the gum tissue, creating a gap that traps food and bacteria if it goes unaddressed. A water flosser set to a low or medium pressure is the most effective tool for flushing debris out from underneath the restoration.
Aim the tip at the junction between the bridge and the gum, moving from one end of the arch to the other. Do this once a day at minimum, ideally after your last meal.
Some patients also use a floss threader with implant-specific floss to work under the connector bars. Either method works, as long as you clean the full length of the prosthesis rather than just the visible front section.
Choosing Safe Toothpaste, Interdental Brushes, and Mouth Rinses
Pick a low-abrasive, non-whitening toothpaste. Whitening formulas contain silica or baking soda particles that can scratch the implant’s polished surface, creating rough patches where plaque sticks more easily.
Interdental brushes with a nylon-coated wire (not bare metal) clean between implant crowns without scratching the titanium. Use one sized to fit snugly without forcing it.
An alcohol-free antimicrobial rinse, used once daily, helps control bacteria along the gumline without drying out the surrounding tissue.
Professional Maintenance and Early Warning Signs
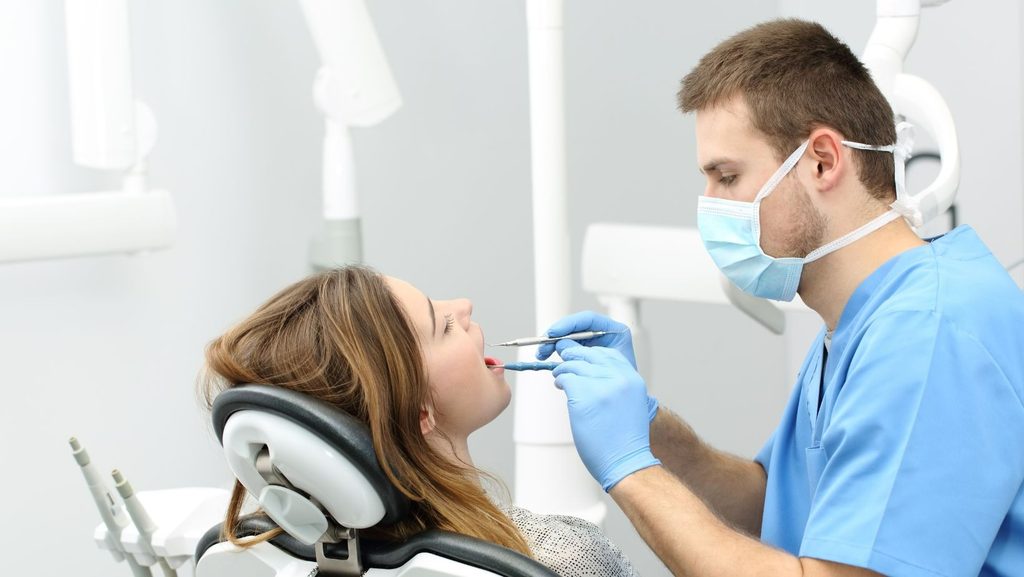
Home care handles most of the daily plaque control, but professional visits catch the problems you cannot see or feel yourself, particularly bone changes and early gum inflammation around the implant. Skipping these appointments is one of the most common reasons implants fail years after placement.
How Often Should You Schedule Implant Checkups?
Schedule an implant maintenance visit every three to six months, depending on your gum health and how quickly you tend to build up plaque. Patients with a history of gum disease before implant placement usually need the shorter three-month interval.
Your dentist will tell you which schedule fits your case after the first year of monitoring. Sticking to it matters more than the exact number of months between visits.
What Happens During a Professional Implant Maintenance Visit?
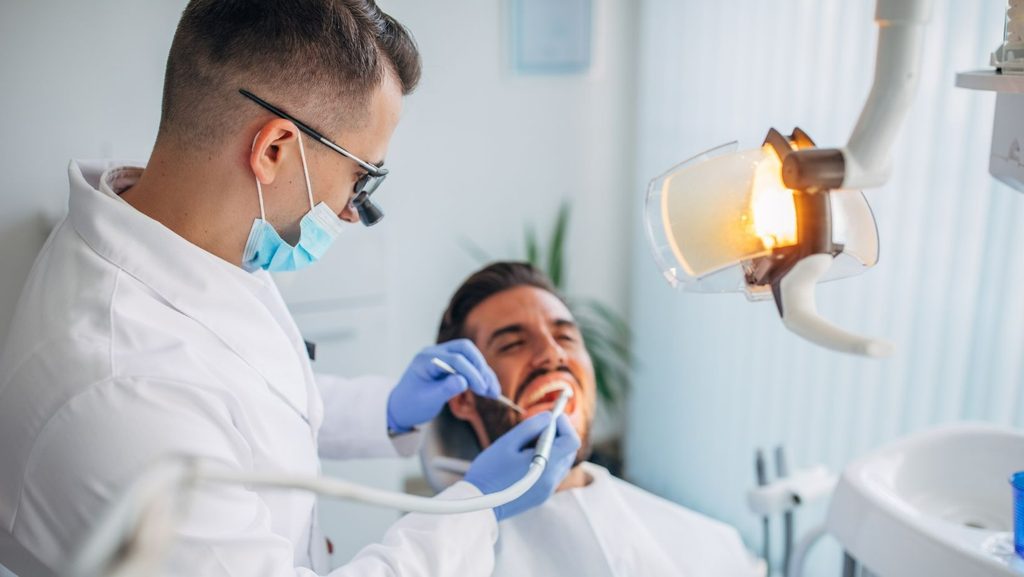
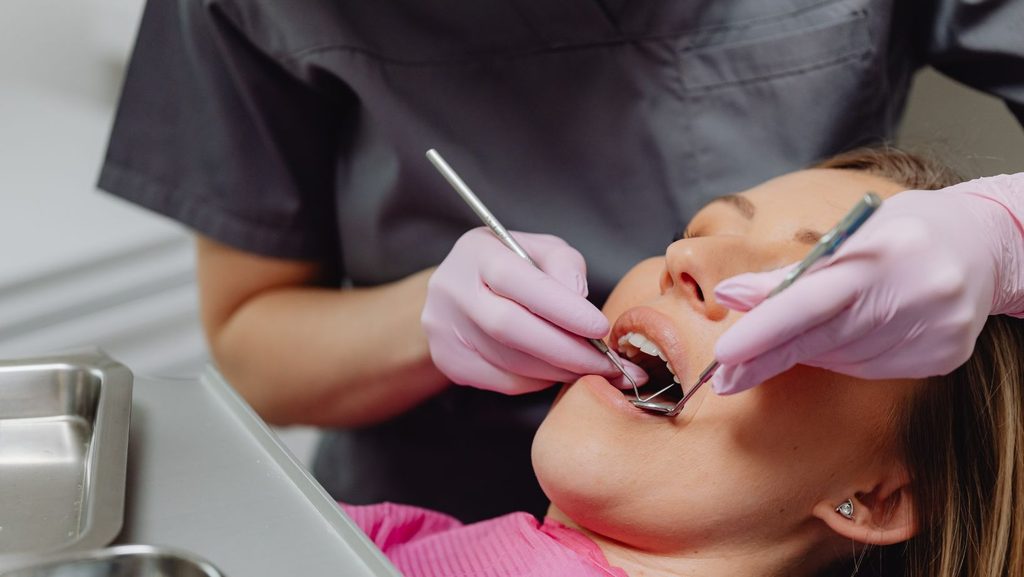
A hygienist trained in implant care uses tools made of resin, titanium, or plastic (never steel scalers, which can scratch the implant surface) to remove plaque and calculus from around each abutment. The visit typically includes an inspection of the prosthesis for movement, a check of the bite alignment, and an X-ray at intervals your dentist recommends to monitor the bone level around each implant post.
Your provider will also inspect the fixed bridge or overdenture attachments for wear, since clips and locators on removable full-arch dentures loosen over time and need periodic replacement.
When Redness, Bleeding, Pain, or Looseness Needs a Call to Your Dentist
Bleeding when you brush, persistent redness around an abutment, or a metallic taste in your mouth are early signs of peri-implant inflammation and should prompt a call within a few days, not a wait-and-see approach. These symptoms often signal the earliest stage of peri-implant mucositis, which responds well to treatment before it progresses to bone loss.
Sharp pain, a shifting or loose-feeling bridge, or a clicking sound when you bite down are more urgent. Contact your dentist the same day, since a loose prosthesis left unaddressed can put uneven pressure on the remaining implants.
Habits That Help Your New Smile Last
Daily habits outside the bathroom sink shape how long your implants last just as much as brushing technique does. Tobacco use, teeth grinding, and diet choices all place measurable stress on the bone and hardware supporting your new smile.
Why Smoking and Tobacco Raise Implant Failure Risk
Smoking restricts blood flow to the gum tissue and slows the healing response that keeps bone attached to the implant surface. Research uncovered by The Oral Health on peri-implant disease links tobacco use to significantly higher rates of bone loss and implant failure compared to non-smokers.
Cutting back helps, but quitting entirely gives your implants the best chance at a full lifespan. If you smoked before surgery and stopped, staying tobacco-free protects the investment you have already made.
How to Protect Implants From Grinding and Clenching
Nighttime grinding puts repeated force on implant screws and connectors that natural teeth absorb differently through their ligament attachment. A custom nightguard, fitted by your dentist, spreads that force evenly and reduces wear on the prosthesis.
Daytime clenching, often tied to stress, benefits from the same guard or from a conscious habit of relaxing your jaw when you notice tension. Left unmanaged, grinding can loosen screws, crack porcelain, or fracture the framework of a full-arch bridge.
Food Choices and Everyday Practices That Prevent Damage
Avoid biting into ice, hard candy, or unpopped popcorn kernels, all of which can chip the prosthesis or place a sudden, uneven load on a single implant. Cut very firm foods (raw carrots, tough bread crusts) into smaller pieces before eating.
Skip using your teeth as tools for opening packages or holding objects. Limit sticky candies that pull at the edges of a fixed bridge, and rinse with water after sugary or acidic drinks to reduce bacterial buildup around the gumline.
Consistent Care Protects Your Investment
Full mouth implants reward the effort you put into them. Daily brushing and cleaning beneath the bridge, water flosser use, and non-abrasive products keep plaque from building up where it does the most damage.
Professional visits every three to six months catch bone changes and loose components before they become bigger problems, and responding quickly to bleeding, pain, or looseness prevents small issues from turning into implant failure. Steering clear of tobacco, managing grinding with a nightguard, and avoiding hard or sticky foods round out the habits that keep your new smile functioning the way it did on day one.
None of these steps require special skill, just repetition and attention. Kept up consistently, they give your full mouth implants the best chance at lasting for decades rather than years.